Group Settings & Branding

Set the branding and populate content on the home page.

 Video example


  1. Click on the gray tab at the top of your page labeled “Edit Group”.


  1. You will be taken to a window which includes a place for you to:
  • edit the title of your group (which shows in the group header banner),
  • add your description sentence, and
  • add a mission statement (that will show under the title of your group in the header banner)

The rich text editor can be used to set text styles and insert graphics (much like Microsoft Word).


  1. The area to the right of the rich text editor is the area where you select your vocabularies and group type by simply clicking the check box next to the appropriate categories. Use the toggle triangles to reveal sub-categories.
 Setting up vocabularies will help define your group and make your group searchable in the cps-vo community and to Google search engines. 


  1. Scroll below the rich text editor to configure the group settings. You can set the group to private or you can list the group in the groups directory. You can also choose to add your group to the registration form so that new cps-vo registrants can join.


 You can determine a policy for how new membership requests should be handled.

    Private: set whether the group will be visible to the public or group members only.

    List in groups directory: set whether the group will be listed in the groups directory (http://cps-vo.org/og).

    Registration form: set whether users may join the group upon registering for an account.

    Membership requests: determine how membership requests should be handled for the group.

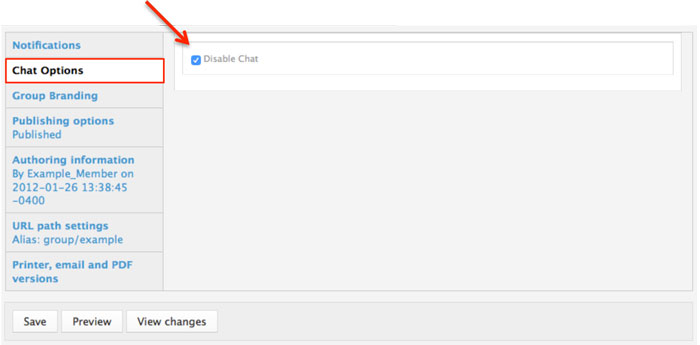
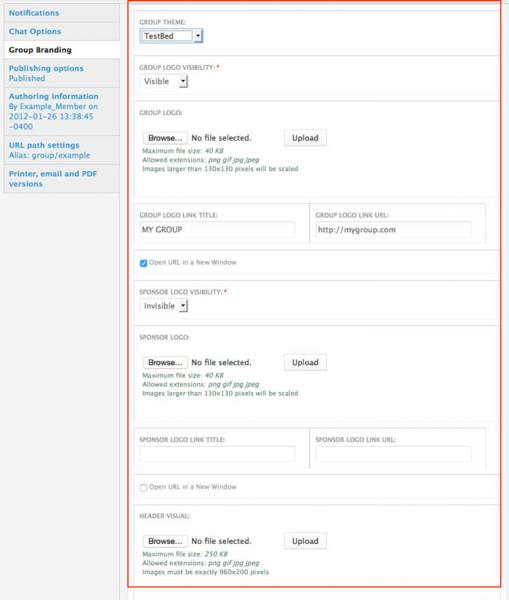
The bottom section of the “Edit Group” panel has a left side menu where you can choose your group chat settings, branding, and set an alias URL path.


  1. Choose Chat Options for your group. Selecting the radio button will turn off chat for your group.

 
  1. Choose a group base theme from a selection menu. Many styles and colors are available. Try each one to see how it affects your page header and colors.


  1. Next choose whether the group logo and sponsor logo will show in the banner header of your page. The default group logo is the CPS-VO logo, but you can upload a custom logo and sponsor logo if desired. Each logo can also have a link added with a hover title. Lastly, you will be able to upload a custom header for your group. Keep in mind all of these files have specific size and format requirements (defined beneath the "Choose File" buttons).


  1. You can change your URL path from the machine-set node number to a relative (English) path. Simply type the name that you would like to appear after the slash. The recommended best practice is to preface your group URL with the "group/" string (e.g. http://cps-vo.org/group/vo/exemplars/option1). 

Set a custom welcome message

Group Managers may customize the welcome message that is sent to newly approved members. A custom welcome message can help new members know where to start in your group. Note: only moderated groups generate a welcome message.

Customize the message in the "edit group" form  by scrolling down to the "welcome message" text field and composing a message. If a custom welcome message is not entered, the default welcome message will be sent.
Example of the default welcome message: Example of a custom message:

P.S. Don't forget to click the save button to save all these settings to your group.