Create Event and Meeting Invitations
After you have created your event or online meeting you will want to invite others to attend.
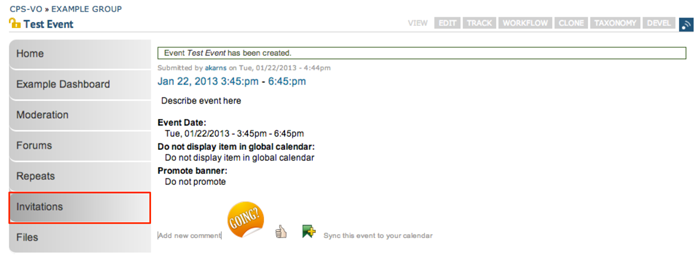 |
Click on the "Invitations" tab from the left menu. |
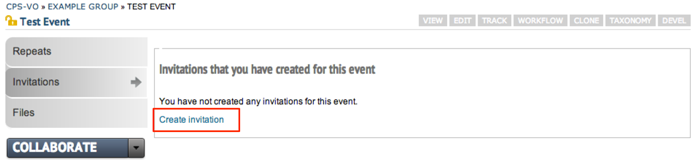 |
From that page, click the “Create Invitation” link in the content area to the right. |
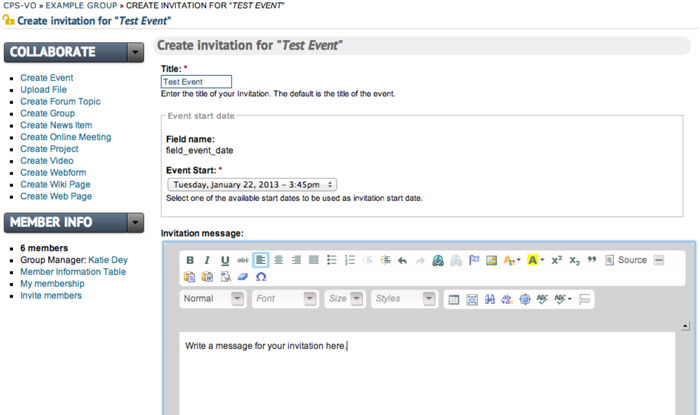 |
Write your invitation in the rich text editor and click the “Save Invitation” button at the bottom of the page. |
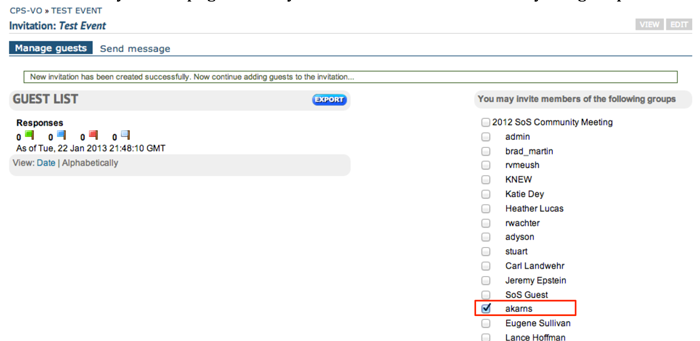 |
This will take you to a page where you can invite members from your groups. |
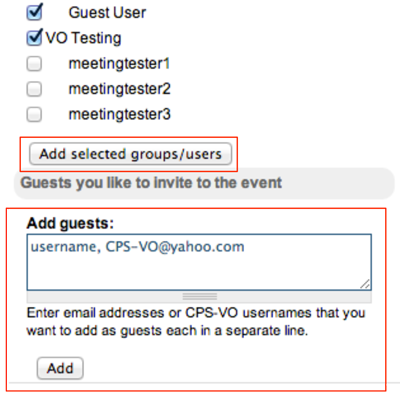 |
Click the “Add selected groups/users” button. User names will indent beneath group names. If you click a group name, all users within that group will be invited. You can also add guests by typing their CPS-VO usernames or email addresses in the “Add guests” text box. |
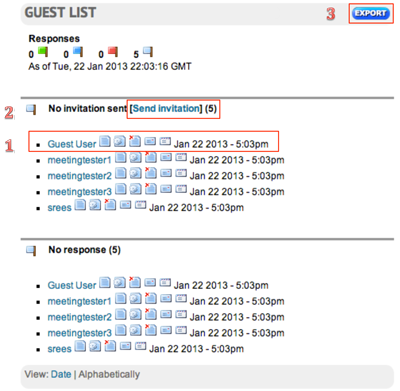 |
Your invitees will show in a guest list to the left of the member list.
1. Use the icons next to their name to view the invitation, invitation status, remove attendee, send a message, or send the invitation.
2. You may send the invitation to all users by using the link at the top of the list.
3. Export a CSV file of your guest list by using the blue “Export” button to the right of the “Guest List” header text.
|
 |
As the invitees respond, categories (no response, attending, not attending) will appear with their names according to their responses.
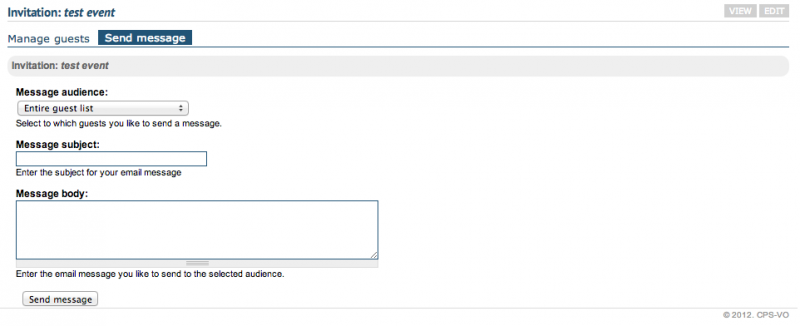
If you click on the tab "Send Message" (as shown below) it will allow you to attach a message to your invitation and send it to a select audience from a dropdown menu (which includes selectors for Entire guest list, Guests who do attend, Guests who do not attend, Guests who might attend, and Guests who have not replied yet). |